
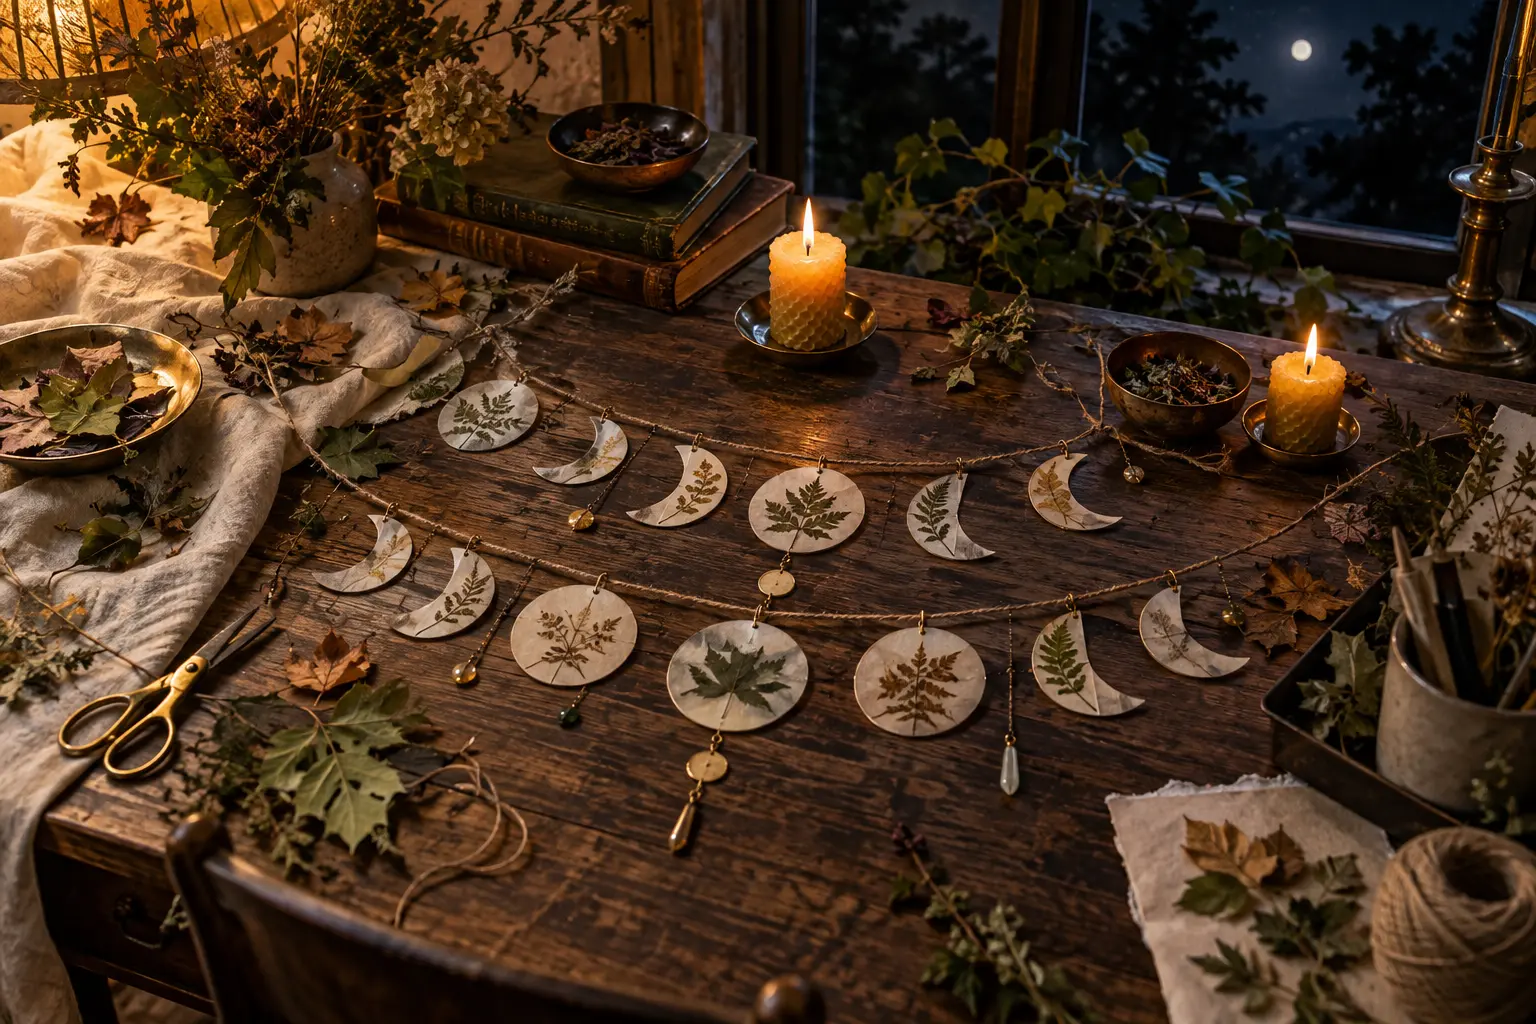
Halloween decorating can feel magical without becoming plastic or cartoonish. This moon-phase garland uses leaves, translucent paper, and twine to catch daylight beautifully and become softer after dark.
Project details
- Skill: Beginner-friendly
- Time: 60 to 90 minutes, plus pressing
- Cost: $8 to $18
Materials
- 10 to 16 flexible fallen leaves
- Heavy books and absorbent paper
- Vellum, tracing paper, or unbleached coffee filters
- Round templates, pencil, sharp scissors, clear-drying glue, brush, hole punch, and cotton twine
- Optional wooden beads, gold thread, or pressed herbs
Prepare the leaves
Choose leaves without damp or mold. Place them between plain paper inside a heavy book. Add weight for three to seven days. Replace damp paper after day one. Continue when the leaves are flat and dry.
Instructions
- Cut the moons. Trace nine circles, 4 to 6 inches wide. Cut two matching layers for each piece.
- Map the phases. Keep one circle whole. Use an overlapping bowl to mark crescents and partial moons on the others.
- Arrange the botanicals. Trim leaves to sit one-quarter inch inside the edge. Glue sparingly to the first layer.
- Seal each moon. Brush a thin coat of glue over the leaves, add the top layer, and smooth outward. Press beneath parchment and a light book for 20 minutes.
- Refine and punch. Trim uneven edges. Punch two holes near the upper edge, half an inch apart, so each moon faces forward.
- String the garland. Cut cord 18 inches longer than the display. Space moons 2 to 4 inches apart and knot both sides of every piece.
- Hang safely. Use removable hooks and battery candles. Keep paper far from fireplaces and hot bulbs.
Make it personal
Use leaves from a family walk, herbs from the last garden harvest, or tiny handwritten words sealed inside the full moon. Store flat between tissue in a dry box. Natural colors will soften over time.